Tasmota on Brilliant Smart Plug Without Soldering
So, after successfully getting Tasmota running on some Sonoff S20 and S26 smart plugs without soldering, and without tuya-convert, I embarked up doing the same with some Brilliant Smart WiFi Plugs (Model 20676/05). I was keen to use these devices, as they are approved for use in Australia, having a Regulatory Compliance Mark (RCM). The process I used involved disassembling the device, and using duPont cables held against the terminals on the ESP8266 module to establish a serial connection and flash the device. Here are some more details.
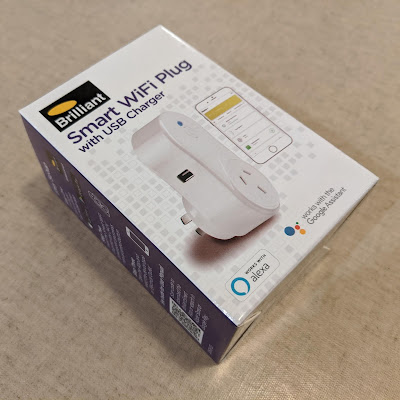
The box for the plugs is shown below.
And here are some images of the plug before disassembly.


The cover of the smart plug can be removed by levering it up with a screwdriver or spudger or similar, and lifting it off.


Looking at the underside of the main board you can also see the solder connections between the ESP8266 module and the main board. I've labelled these, as they are the points at which I decided to attach the duPont cables when attempting to flash the device.


As with my attempts to flash Tasmota on the Sonoff S20 and S26 smart plugs, I again used the CH340G USB to serial device to connect to the smart plug, and the NodeMCU-PyFlasher tool to flash Tasmota onto the smart plug. You can read more about how I used those tools in that post.
The next image shows an example of how I approached holding the duPont cables to the terminals on the ESP8266 module.


The box for the plugs is shown below.

And here are some images of the plug before disassembly.


The cover of the smart plug can be removed by levering it up with a screwdriver or spudger or similar, and lifting it off.


There are two screws that need to be removed from the main board in order to lift out the board and plug assembly.


The board containing the ESP8266 module is attached to the main board. Looking closely you can see the GND, 3V3, RX, TX and (GP)IO0 terminals labelled on the board.


As with my attempts to flash Tasmota on the Sonoff S20 and S26 smart plugs, I again used the CH340G USB to serial device to connect to the smart plug, and the NodeMCU-PyFlasher tool to flash Tasmota onto the smart plug. You can read more about how I used those tools in that post.
The next image shows an example of how I approached holding the duPont cables to the terminals on the ESP8266 module.


However, the process was very fiddly, and took many attempts to get it to work. It involved holding the duPont cables for GND, 3V3, RX, TX against the terminals under the main board. I then also held another duPont cable connected to GND to IO0, which is required in order to have the ESP8266 chip boot into flash mode.
Then I had a friendly helper connect the CH340G USB to serial device to a PC, and start the flash process in the NodeMCU-PyFlasher tool.
As with the Sonoff S26 for which I used a similar method, I'm not sure this was the most sensible approach, but it worked and I managed to successfully get Tasmota up and running on four separate Brilliant Smart Plugs.
After that I was able to configure Tasmota using the template available here.


Comments
Post a Comment