Posts

Showing posts from August, 2019

Tasmota on Brilliant Smart Plug Without Soldering

Image
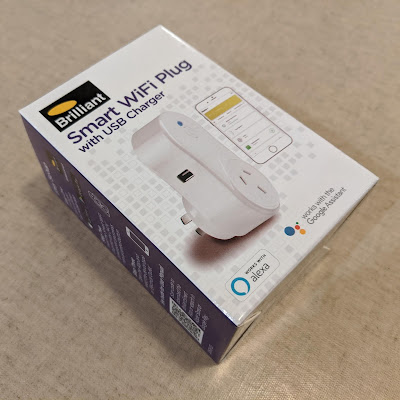
So, after successfully getting Tasmota running on some Sonoff S20 and S26 smart plugs  without soldering, and  without tuya-convert , I embarked up doing the same with some Brilliant Smart WiFi Plugs (Model 20676/05). I was keen to use these devices, as they are approved for use in Australia, having a Regulatory Compliance Mark (RCM) . The process I used involved disassembling the device, and using duPont cables held against the terminals on the ESP8266 module to establish a serial connection and flash the device. Here are some more details. The box for the plugs is shown below. And here are some images of the plug before disassembly. The cover of the smart plug can be removed by levering it up with a screwdriver or spudger or similar, and lifting it off. There are two screws that need to be removed from the main board in order to lift out the board and plug assembly. The board containing the ESP8266 module is attached to the main board. Looking cl

Smart phone charging using Home Assistant

Image
After  finally getting Tasmota flashed onto a smart plug  I was able to get started on one of the smart home projects I'd been pondering for a while... a smart phone charger that could stop the phone charging when it reached a certain battery charge level. My motivation was this... I had been the owner of a Google Pixel phone which I purchased in 2017. After 2 years of use I was becoming increasingly disappointed with the battery life of the device, which prompted me to install the AccuBattery app  to attempt to quantify how poor the remaining battery capacity was. I was alarmed to find that the battery capacity was less than 50% of the original capacity (and has now dropped to less than 40% at the time of writing) So after I got a new Android phone in around May 2019, I started reading about how I could improve this. The AccuBattery documentation has some very useful articles  describing how lithium ion (Li-ion) batteries degrade under different charging scenarios. I a

Tasmota Smart Plugs, MQTT and Home Assistant

Image
After getting  Tasmota flashed onto Sonoff S20 and S26 smart plugs  I then needed to get them configured and talking to Home Assistant . MQTT Given that Tasmota is designed to be used with MQTT , this seemed like a sensible place to start. I had Home Assistant running on my Raspberry Pi Zero W in a python virtual environment , so I set about installing the Mosquitto MQTT broker  on the same Raspberry Pi. As usual, the wealth of resources available on the internet made this a relatively easily process, and this article  was very helpful. The following commands updated the package list in Raspbian and installed Mosquitto. Mosquitto started automatically after the install. $ sudo apt update $ sudo apt install mosquitto mosquito-clients MQTT works with the concepts of topics and messages. Devices or software tools can listen (or subscribe) to messages on a given topic, and also publish messages to a given topic. Anything interested in a particular topic can communicate and/or

Tasmota on Sonoff S20 and S26 Smart Plugs

Image
After failing to install Tasmota on some Australian certified smart plugs using tuya-convert  I embarked on dismantling some Sonoff S20 and S26 smart plugs and flashing Tasmota  on them using a CH340G USB to serial adaptor. I purchased the CH340G USB to serial adaptor from eBay, and you can see it below. So, starting with the S20 , there are some good instructions on flashing this device in the Tasmota documentation . I firstly disassembled my device, and had a look at the board.  You can see there are various sets of header holes, but it is those near the button that can be to be used to flash the device. Unfortunately mine weren't labelled, but the instructions I referred to previously had an image of another PCB which had the headers labelled. So, I connected the headers to the CH340G using duPont cables. It's worth noting that the RX and TX cables need to be crossed so that RX connects to TX, and vice versa. The CH340G was set to supply 3.3V via

Flashing smart plugs with tuya-convert FAIL

Image
I purchased a Medion Life+ Smart Plug from Aldi , for the purpose of doing some experimentation, and setting up a few automation ideas I had by connecting it to my Home Assistant instance . After getting it home, and doing a bit of I realised that these plugs were actually manufactured by Tuya , and were simply rebranded with the Aldi Medion brand. I found that there was a Tuya component for Home Assistant  that worked with the Tuya cloud, however upon doing some more reading, a more appealing solution emerged. I realised that many people were flashing Tuya based devices with custom firmware such as Tasmota  or ESPHome , which allowed local control of the devices over a local network using Home Assistant.  Usually flashing these devices means pulling them apart and using a USB-to-serial adaptor to flash the custom firmware. But, even more searching led me to tuya-convert which makes it possible to flash some Tuya-based devices over the air. So, I dove in.